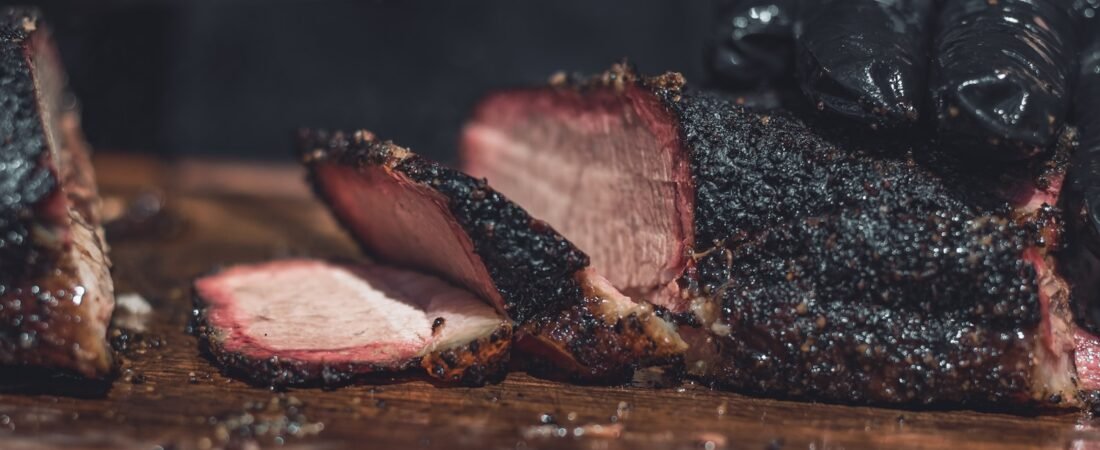
Brisket has a reputation for being intimidating, and most of that reputation comes from smokers, temperature swings, and hours of tending a fire. The oven method strips a lot of that anxiety out. You still need patience, since there’s no shortcut around low and slow cooking, but you don’t need to babysit a fire pit at five in the morning to get a tender, fall-apart result.
Here’s the full method, from picking the right cut to slicing it at the end.
Choosing the Right Brisket
A whole packer brisket includes two muscles, the flat and the point, separated by a layer of fat. The flat is leaner and more uniform, which makes it easier to slice evenly. The point is fattier and more forgiving, and it’s what a lot of burnt ends are made from. For a home oven cook, either works, but look for a brisket with an even thickness throughout and a fat cap around a quarter inch thick. A brisket that’s paper thin on one end and thick on the other will cook unevenly no matter what you do.
What You’ll Need
A simple dry rub goes a long way here. Equal parts coarse kosher salt and coarse black pepper is the classic approach, and it works because brisket has enough fat and flavor of its own that it doesn’t need much help. If you want more depth, add garlic powder, onion powder, and a bit of smoked paprika. You’ll also want a roasting pan with a rack, heavy duty foil or butcher paper, and a reliable meat thermometer. This last one isn’t optional. Brisket is one of the few cuts where guessing by time alone will fail you almost every time.
Step 1: Trim the Fat Cap
Trim the fat cap down to about a quarter inch. Any thicker and it won’t render fully during the cook, leaving you with a layer of chewy fat instead of the flavor and moisture it’s supposed to add. Also trim away any hard, waxy fat and silver skin on the underside, since those won’t break down no matter how long they cook.
Step 2: Season Generously and Let It Sit
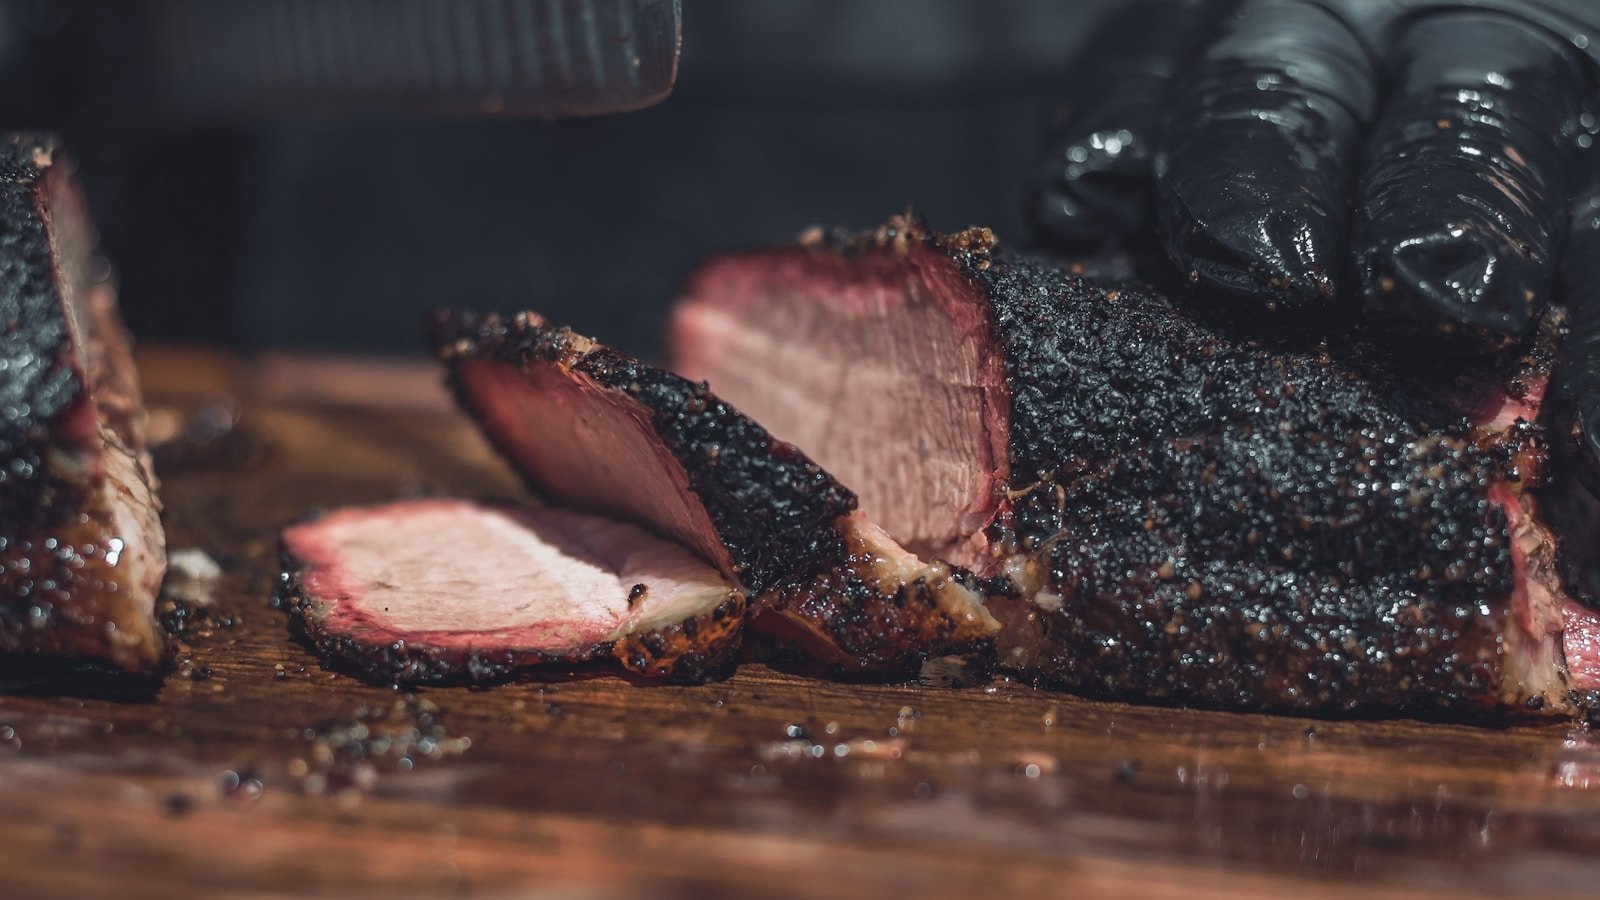
Coat the brisket heavily on all sides with your rub. If you have the time, do this the night before and leave it uncovered on a rack in the fridge. This is essentially a dry brine, and it does two things: the salt penetrates deeper into the meat overnight, and the surface dries out, which helps build a better crust, often called bark, once it’s in the oven.
Step 3: Set Up Your Oven
Preheat the oven to 275 degrees. Place the brisket fat side up on a rack set inside a roasting pan. The fat will baste the meat as it renders down through the cook. You don’t need to add water or liquid to the pan for the oven method, since you’re not fighting the same airflow and moisture loss you’d get from a smoker.
Step 4: The Long, Slow Cook
Plan on roughly an hour to an hour and a half per pound at 275 degrees, but treat that as a rough estimate, not a rule. Brisket is done when it hits the right internal temperature and texture, not when the clock says so. Around 160 to 170 degrees internal, you’ll likely hit what’s known as the stall, where the temperature seems to stop climbing for an hour or more. This is real, it happens because evaporating moisture on the surface is cooling the meat as fast as the oven is heating it, and it is not a sign that anything has gone wrong.
Step 5: Wrap It Through the Stall
Once the brisket hits the stall, wrap it tightly in heavy duty foil or butcher paper. This is sometimes called the Texas crutch, and it pushes the temperature through the stall faster while helping the brisket hold onto moisture. Foil will give you a more tender result with a softer bark, while butcher paper keeps more of the bark’s texture intact. Either is fine for an oven cook.
Step 6: Pull It at the Right Temperature
Keep cooking until the internal temperature reads 203 to 205 degrees. That number matters more than any clock. This is the range where the tough collagen and connective tissue in brisket have fully broken down into gelatin, which is what makes the difference between a chewy roast and a fork tender brisket. Check for doneness by probing the thickest part of the flat with a thermometer or skewer. It should slide in with almost no resistance, like pushing into softened butter.
Step 7: Rest It, and Rest It Longer Than You Think
Let the brisket rest for at least thirty minutes, though an hour or two is better if you can manage it. Keep it wrapped and, if you want to hold the heat longer, set it inside a dry cooler wrapped in towels. This rest lets the juices redistribute through the meat instead of pouring out the moment you slice into it. Skipping this step is one of the most common reasons a well cooked brisket still turns out dry.
Step 8: Slice Against the Grain
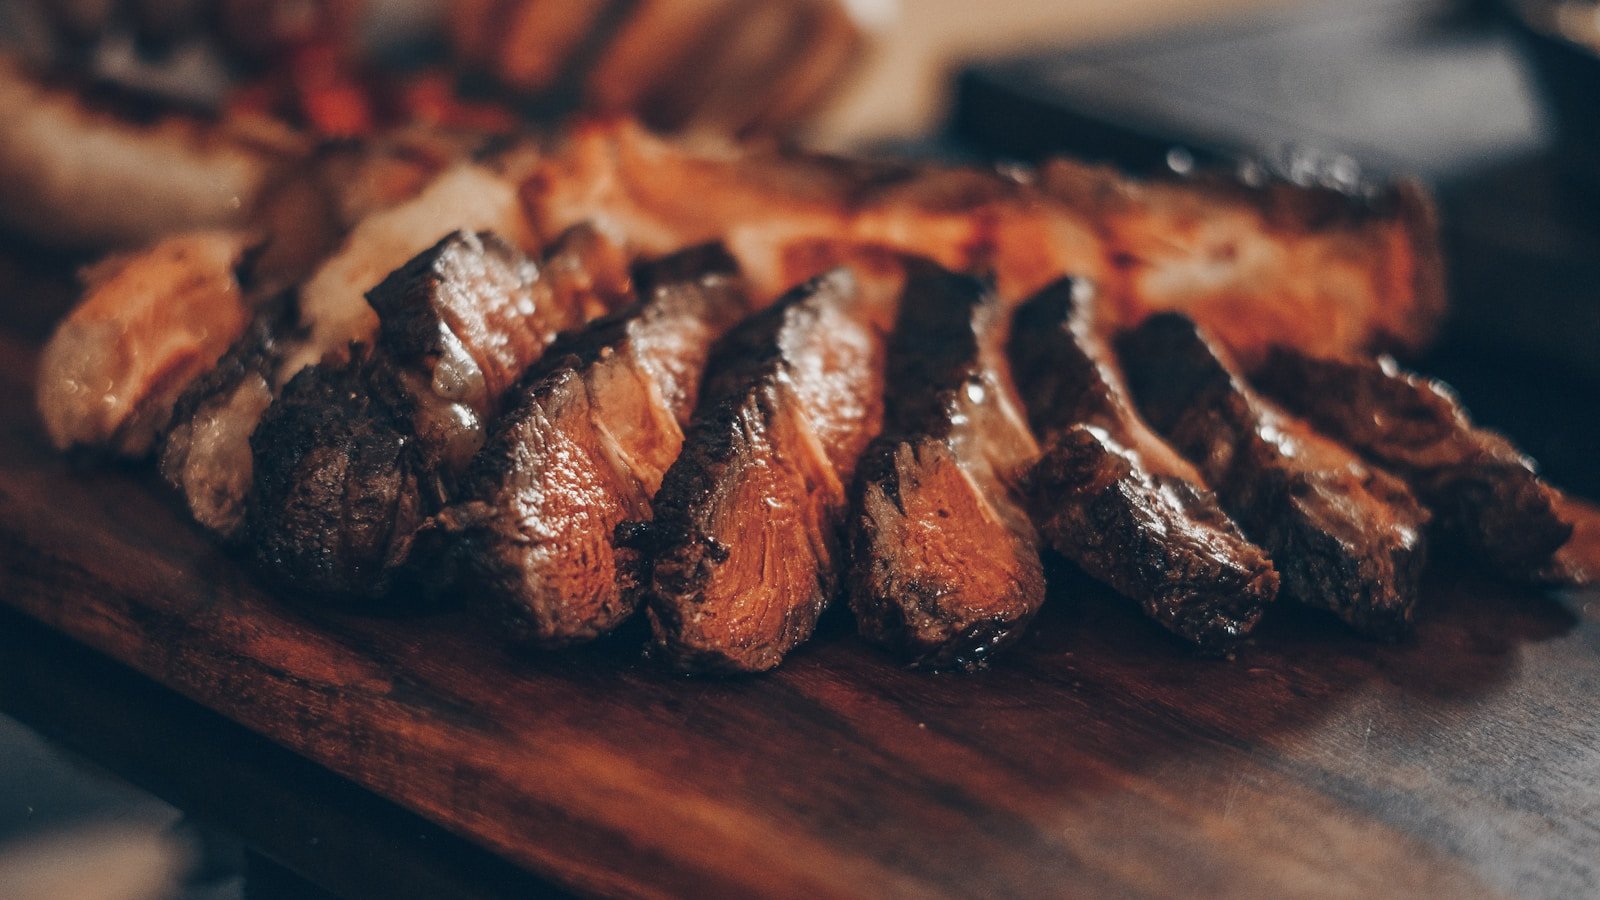
The grain direction changes between the flat and the point, so you’ll need to adjust how you’re cutting as you move across the brisket. Slice against the grain in thin, even pieces, roughly a quarter inch thick. Cutting with the grain instead of against it will give you tough, stringy slices even from a perfectly cooked brisket.
How to Know When It’s Actually Ready
Temperature gets you close, but the real test is feel. A properly cooked brisket should probe like soft butter with almost no resistance in the thickest part of the flat. If your thermometer meets any real resistance at 203 degrees, give it more time. Every brisket is a little different, and the temperature range is a guide, not a guarantee.
Common Questions
Do I need liquid smoke to get that smoked flavor?
You can add a small amount if you want a hint of smoky flavor, but it’s easy to overdo. A little goes a long way, and most people find the rub and the rendered fat give plenty of flavor on their own without it.
Can I cook brisket faster at a higher oven temperature?
You can raise the temperature to around 300 to 325 degrees to speed things up, but you’re trading some tenderness and moisture for time. The lower and slower the cook, the more time the collagen has to fully break down without drying out the meat.
How long does a 10 pound brisket take in the oven?
At 275 degrees, expect somewhere around 10 to 15 hours total, including the stall and the wrap. Start early, use your thermometer, and don’t plan dinner around a specific hour. Brisket finishes when it finishes.
If you’d rather skip the ten hour commitment, our slow roasted prime rib delivers that same fall-apart, worth-the-wait tenderness without you having to set an alarm. Reserve your table and let us do the long cook for you.