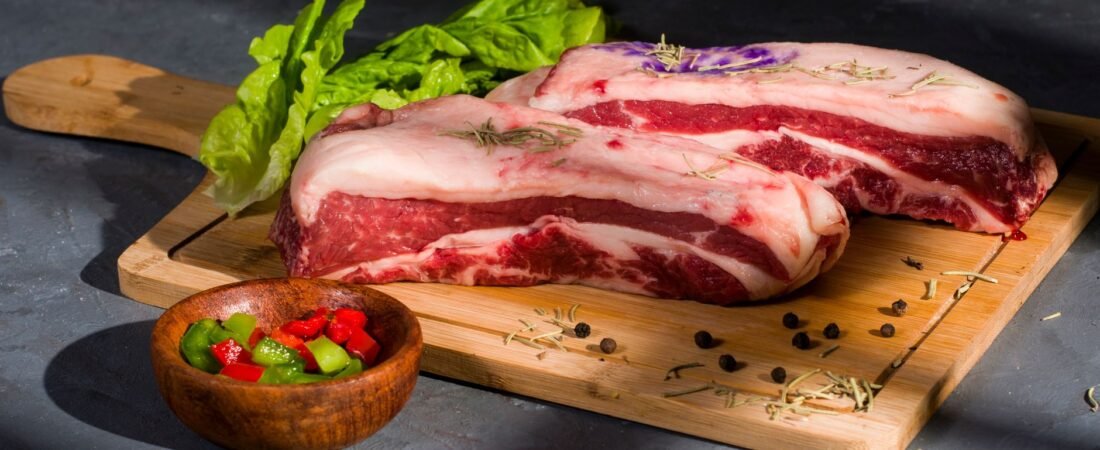
Short ribs live a different life than most steaks. They come from a hardworking part of the cow, packed with collagen and connective tissue that would be tough and chewy cooked quickly, but turns rich and fall-apart tender given enough time in liquid at a low temperature. This is a braise, not a roast, and the oven does all the heavy lifting.
What Are Short Ribs?
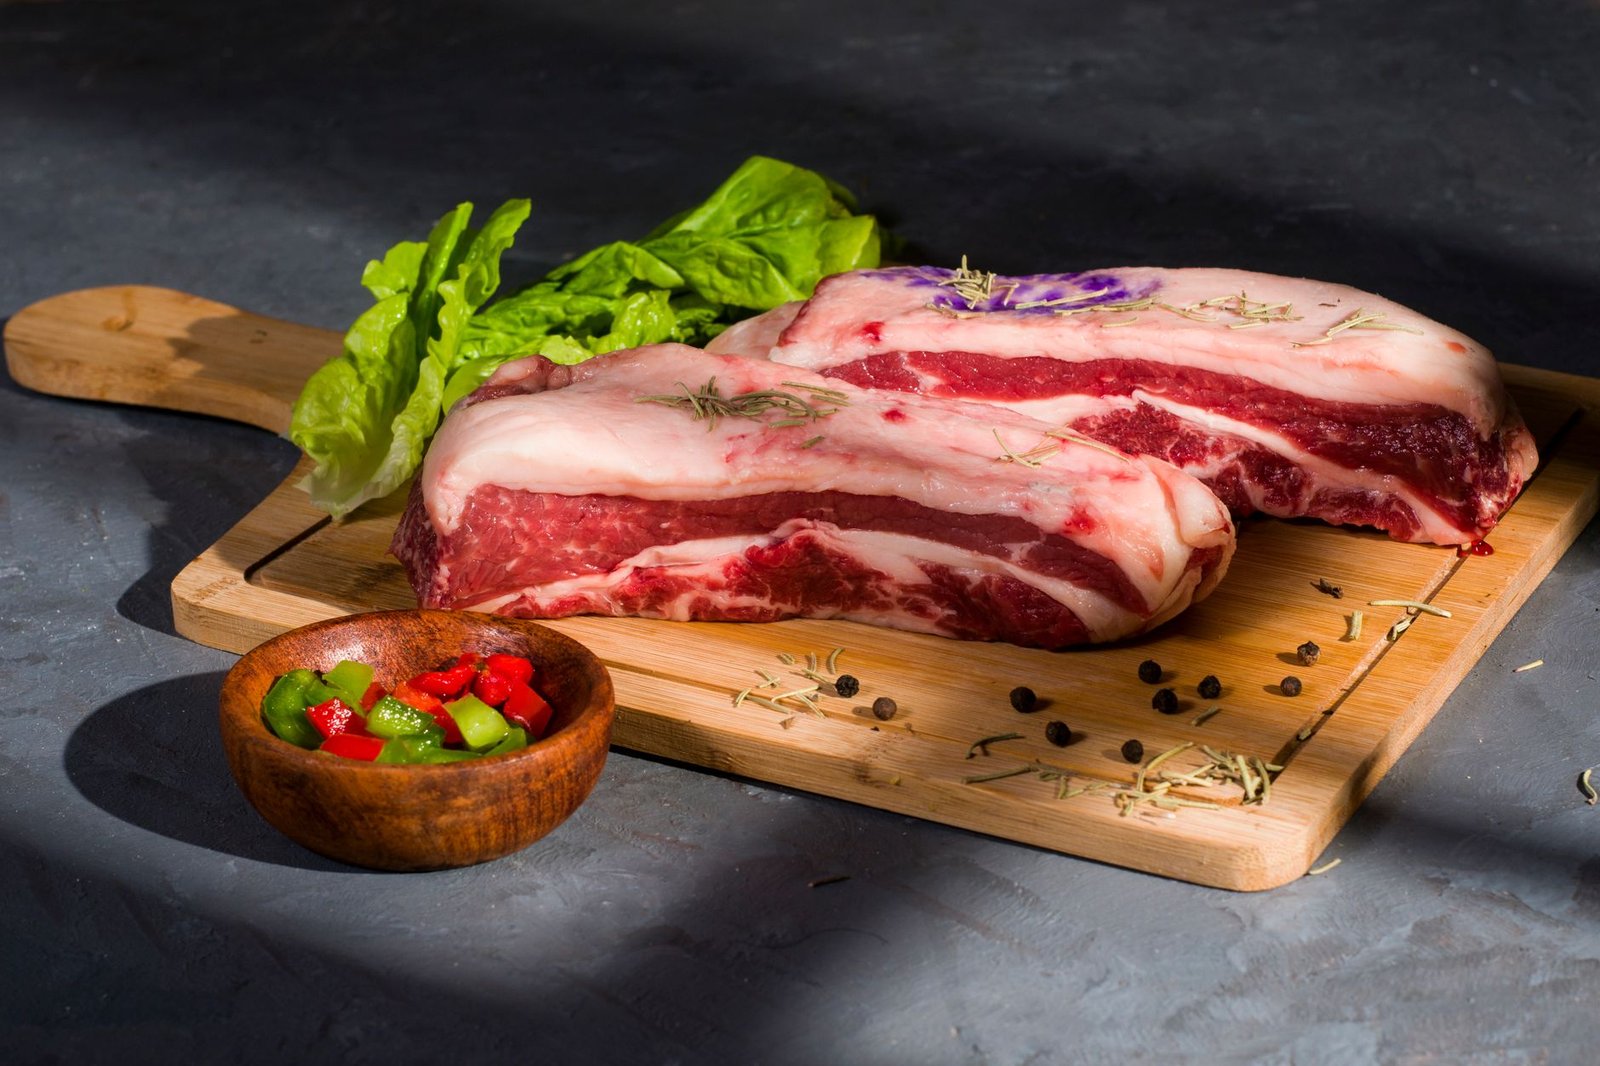
Short ribs come from the rib and plate section of the cow, cut so that a section of rib bone stays attached to a thick layer of meat above it. They’re heavily marbled and loaded with connective tissue, which is exactly why they respond so well to slow, moist cooking. English cut short ribs, where each rib is cut into its own individual piece with the bone perpendicular to the meat, are the most common style you’ll find at the grocery store and the easiest to work with for a braise.
What You’ll Need
Bone-in English cut short ribs, a classic mirepoix of onion, carrot, and celery, red wine or beef stock, tomato paste, a few cloves of garlic, fresh thyme, a bay leaf or two, and a heavy pot with a tight fitting lid, ideally a dutch oven. None of this needs to be fancy. Braising is forgiving, and the long cook time does most of the work for you.
Step 1: Sear First, Every Time
Pat the ribs dry and season them generously with salt, then sear all sides in a hot dutch oven until deeply browned, not just lightly colored. This step builds the base flavor for the entire dish, and skipping it or rushing it leaves the final result flat no matter how long you braise afterward. Work in batches if needed so the pot doesn’t get overcrowded and steam the meat instead of browning it.
Step 2: Build the Braising Liquid
Remove the ribs and sauté the mirepoix in the same pot, scraping up the browned bits stuck to the bottom as you go. Stir in the tomato paste and cook it for a minute to deepen its flavor, then deglaze with red wine, letting it reduce slightly before adding beef stock. Return the ribs to the pot along with the garlic, thyme, and bay leaf. The liquid should come about two thirds of the way up the ribs, not fully submerge them.
Step 3: Cover and Braise Low and Slow
Cover the pot tightly and transfer it to a 300 degree oven. Plan on three to three and a half hours of cook time. The low, steady heat combined with the moist environment under the lid is what slowly breaks down the collagen in the meat into gelatin, which is the whole reason braised short ribs turn out so tender.
Step 4: Check for Fall-Off-the-Bone Tenderness
At the three hour mark, check a rib with a fork. It should shred apart with almost no resistance. If there’s still noticeable pull or chew, put the lid back on and give it another thirty minutes before checking again. Every batch of short ribs is a little different depending on size and marbling, so treat the time range as a guide rather than a fixed rule.
Step 5: Rest, Skim, and Reduce the Sauce
Let the ribs rest in the braising liquid for at least fifteen minutes once they’re out of the oven. Skim the excess fat off the top of the liquid, then strain it and reduce it on the stovetop until it thickens into a proper sauce. This braising liquid carries most of the deep flavor from the sear and the aromatics, so don’t skip reducing it down before serving.
Serving Suggestions
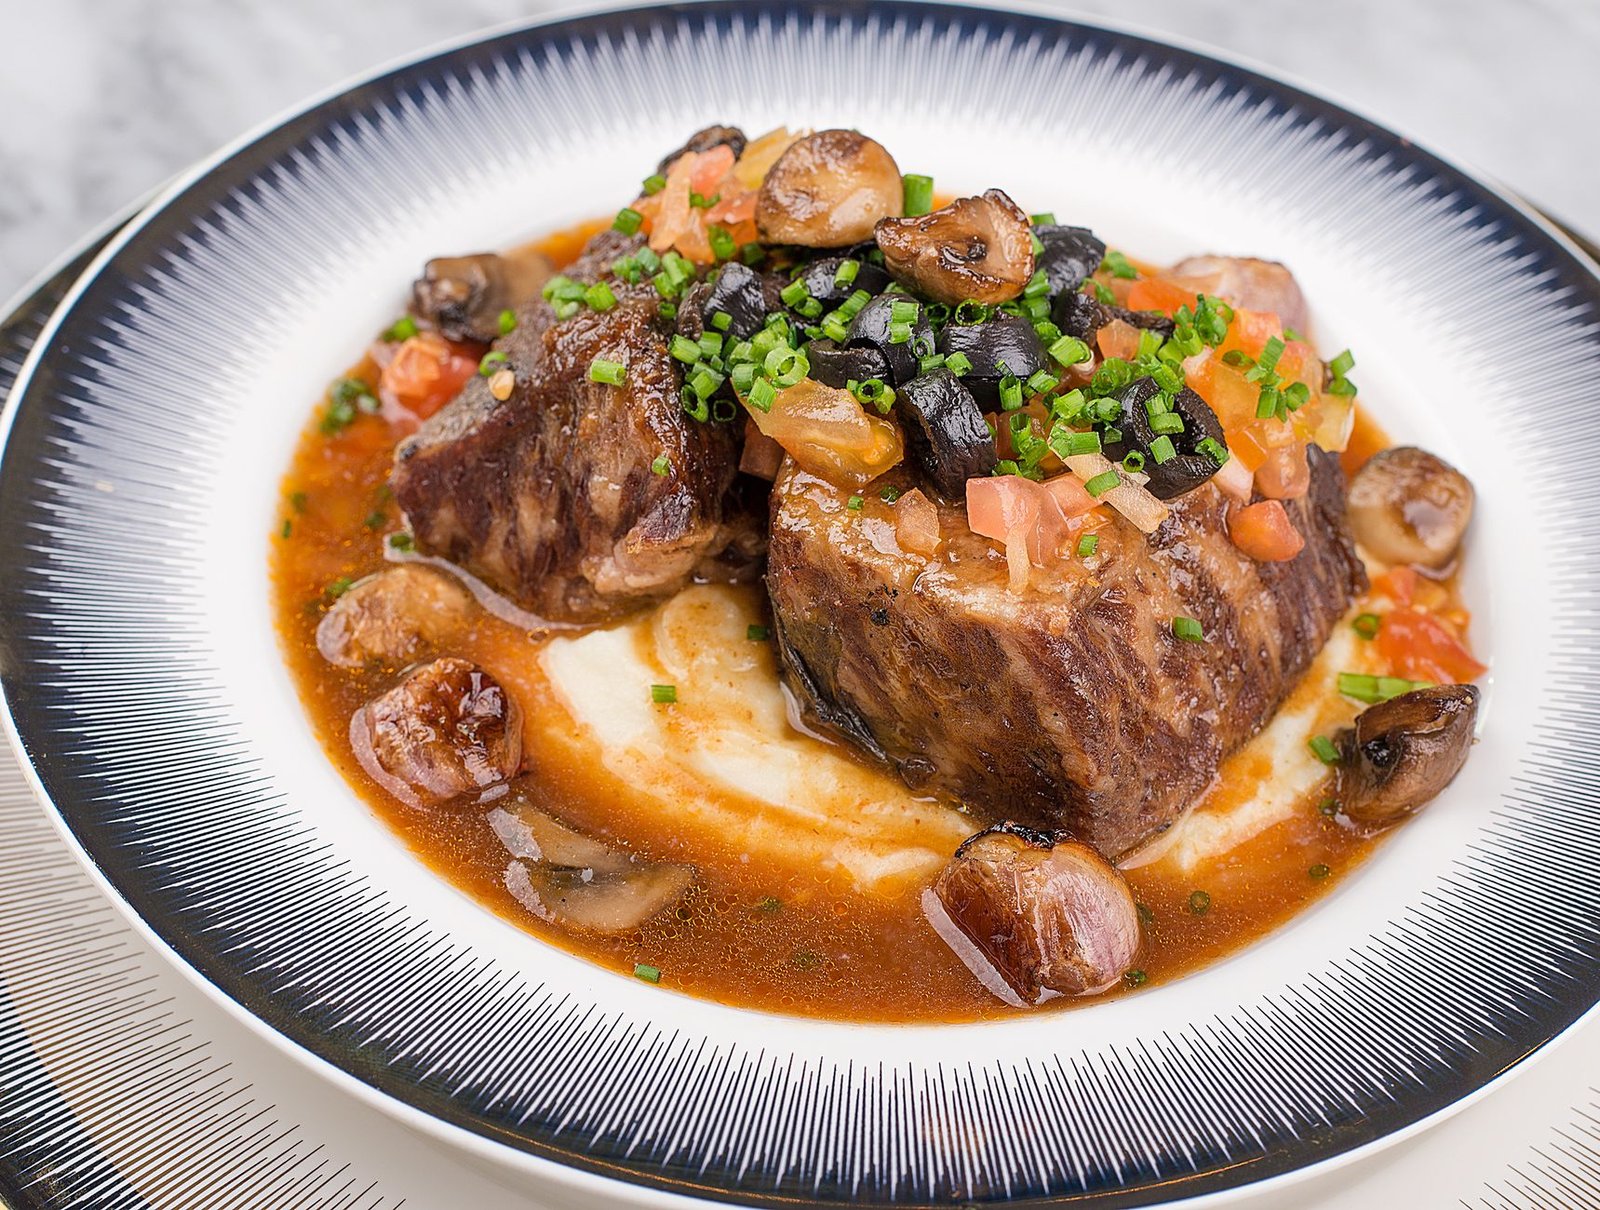
Short ribs practically demand something underneath them to soak up the sauce. Mashed potatoes, creamy polenta, or buttered egg noodles all work well. A simple side of roasted or blanched vegetables balances out the richness of the dish.
Mistakes That Ruin Braised Short Ribs
Rushing the sear is the most common one. A pale, lightly browned surface means a flat tasting braise no matter how long it cooks afterward, since so much of the final flavor comes from that initial browning. Overfilling the pot with liquid is another common issue. Fully submerging the ribs steams and dilutes them rather than braising them properly, so stick to that two thirds mark. Pulling the ribs too early is the last big one. Unlike a steak, there’s no such thing as a rare or medium short rib. If they haven’t hit that fall-apart tenderness, they need more time in the oven, full stop.
Make Ahead and Storage
Braised short ribs actually improve after a day in the fridge, since the flavors have more time to settle into the meat. Cool the ribs in their braising liquid, store everything together in an airtight container, and reheat gently on the stovetop or in a low oven until warmed through. They’ll keep well in the fridge for three to four days, or in the freezer for up to three months if you want to make a larger batch ahead of time.
Common Questions
Should I use bone-in or boneless short ribs?
Bone-in is worth seeking out. The bone adds flavor to the braising liquid as it cooks and helps keep the meat from drying out. Boneless short ribs will still braise well, but you’ll get slightly less depth in the finished sauce.
Can I braise short ribs on the stovetop instead of the oven?
Yes, though the oven gives you more even, consistent heat surrounding the pot from all sides. A stovetop braise needs closer attention to keep the heat low and steady enough to avoid scorching the bottom.
Is the cooking temperature different from brisket?
Short ribs braise at a slightly higher temperature, 300 degrees compared to the 275 degrees typical for oven brisket, because they’re cooking in liquid rather than dry heat. The moisture in the pot protects the meat from drying out even at that higher temperature.
If a three hour braise isn’t happening on a weeknight, our prime rib gives you that same slow-cooked, deeply tender result without any of the prep. Reserve your table at Steak 38.